Converting a PowerPoint presentation to PDF format is an effective way to ensure your slides are easily shared, viewed, and preserved. This guide will walk you through various methods to save PowerPoint as a PDF, highlighting the benefits and practical applications of each approach.
Why Save PowerPoint as a PDF?
Saving your PowerPoint presentation as a PDF offers several advantages:
- Universal Compatibility: PDFs can be viewed on any device without needing PowerPoint, ensuring your audience can access your content regardless of their software.
- Preserved Formatting: The layout, design, and fonts of your slides remain intact, preventing any alterations or misalignments.
- Security: PDFs can be password-protected, restricting editing and viewing, thus safeguarding sensitive information.
How to Save Powerpoint as PDF
Saving a PowerPoint presentation as a PDF is a straightforward process that ensures your slides are easily accessible and universally viewable. PDFs maintain the formatting, design, and content integrity of your original presentation, making them an ideal format for sharing and printing. Here’s a detailed guide on how to convert your PowerPoint presentation into a PDF.
Using Microsoft PowerPoint
Microsoft PowerPoint provides a straightforward method to save your presentation as a PDF. Here’s a detailed step-by-step process:
- Open Your Presentation: Start by opening your PowerPoint presentation that you wish to convert.
- Navigate to the Export Option: Click on the File tab in the top left corner of the screen and select Export from the dropdown menu. This will bring up several export options.
- Create PDF/XPS Document: Select the Create PDF/XPS Document option. This feature allows you to convert your PowerPoint file directly into a PDF.
- Choose a Save Location: In the new window that appears, click Browse to choose the location on your computer where you want to save your PDF. You can navigate to the desired folder or create a new one.
- Set File Name: Optionally, you can rename the file in the “File name” box to something more descriptive or appropriate for your needs.
- Customize Options:
- Optimize for: Choose “Standard” for high quality, which is ideal for printing, or “Minimum size” for a smaller file size, which is best for sharing online and via email.
- Publish What: Select which slides to include, such as all slides, the current slide, or a specific range of slides.
- Handouts: Define how many slides you want to appear on each PDF page. This can be particularly useful for providing handouts during presentations.
- Create PDF: Once you have set all your preferences, click Create PDF/XPS. PowerPoint will then convert your presentation into a PDF file according to your specifications.
Benefits of Using PowerPoint’s Built-In Function
Using PowerPoint’s built-in function to save as a PDF ensures that your slides are converted with the best possible quality. This method retains the static elements of animations and transitions, ensuring that the final PDF accurately reflects your original presentation.
Online Converters
For those who don’t have access to Microsoft PowerPoint or prefer an online solution, various free online converters are available:
- Smallpdf: This is a reliable option for converting PowerPoint files to PDF. It offers an easy-to-use interface and quick conversion.
- PDF Converter: Similar to Smallpdf, this tool allows for quick and easy conversion of PowerPoint presentations to PDF format.
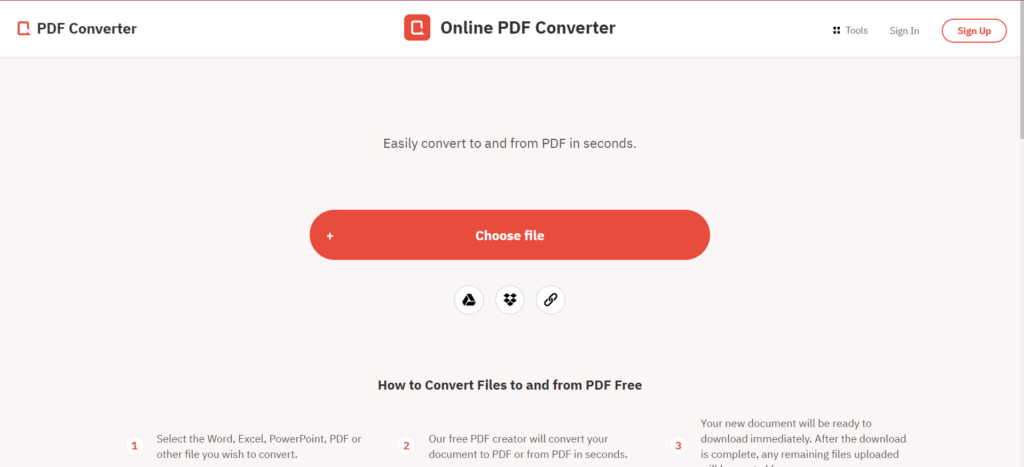
Steps to Use Online Converters:
- Visit the Converter Website: Navigate to a trusted site like Smallpdf using your web browser.
- Upload Your PPT: Drag and drop your PowerPoint file into the upload area or click to select the file from your computer.
- Convert: The site will automatically convert your file to PDF. This process typically takes just a few moments.
- Download: Once the conversion is complete, download your new PDF file to your computer.
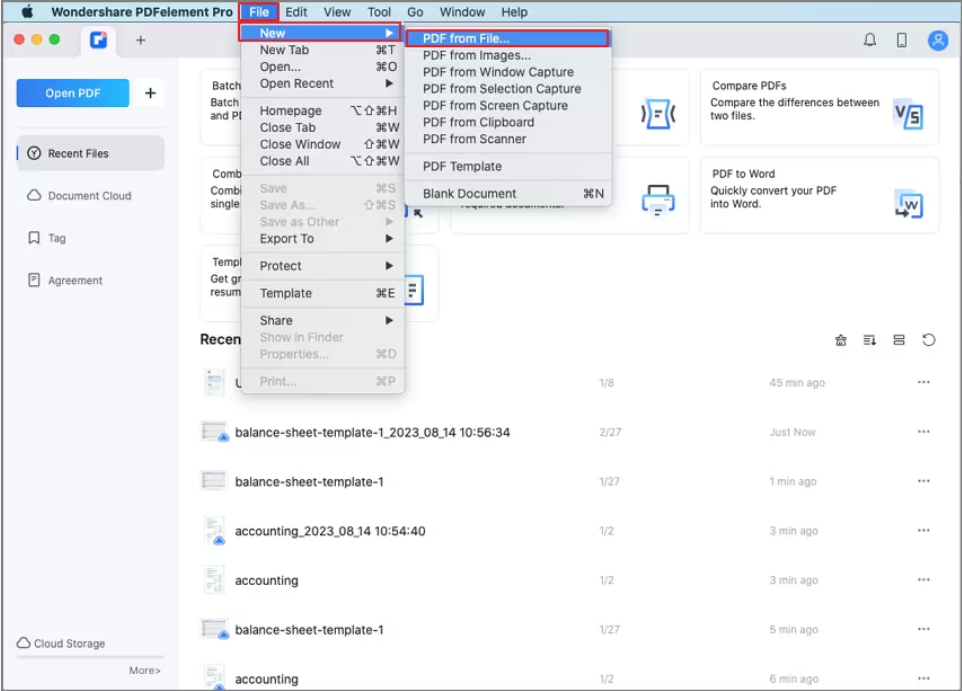
Save As (Mac)
Mac users can also convert PowerPoint presentations to PDF using the Save As feature. This method offers fewer customization options but is quick and effective.
- Open Your Presentation: Launch your PowerPoint file that you want to convert.
- Save As PDF: Click on File in the top menu, then select Save As from the dropdown menu.
- Select PDF Format: In the Save As dialog box, choose PDF from the file format dropdown menu.
- Save: Click Save to convert your presentation to PDF. This method quickly generates a PDF with your slides in their current state.
Additional Tips for Saving PowerPoint as PDF
- Check Formatting: After conversion, review the PDF to ensure all elements appear correctly and that no formatting issues have arisen.
- Use High-Quality Images: For the best results, use high-resolution images in your PowerPoint slides. This ensures that they appear clear and sharp in the PDF.
- Secure Your PDF: If your presentation contains sensitive information, consider adding a password to your PDF. This can be done using PDF software like Adobe Acrobat.
Conclusion
Saving a PowerPoint as a PDF is a versatile way to share your presentations while maintaining their integrity and security. Whether you use PowerPoint’s built-in features, online converters, or the Save As option on a Mac, you can easily create a PDF version of your slides. This ensures that your work can be viewed on any device, remains well-formatted, and is protected from unauthorized edits.
By following these methods, you can effectively convert and share your PowerPoint presentations, leveraging the advantages of the PDF format for both professional and personal use. This straightforward guide helps you navigate the process seamlessly, making your presentations accessible and secure in the universally accepted PDF format.
Also Visit: pdf to vector file
fix corrupted pdf
how to make a clickable pdf in canva
how to check dpi of pdf

Niketa Mulay, a seasoned content writer and editor, has over a decade of experience. With a Master’s in Journalism, she honed her skills at The Times of India and now freelances across various industries. Passionate about reading, writing, and scuba diving, she shares expert PDF guides and tips at PDFdrivehub.com.

